On Sunday, the bloke and I headed into London in order to take part in a workshop to learn how to make soap and bath bombs with Naz from Midas Touch Crafts. By the end of the class, we were told that we would have a bar of soap, a jelly soap, and a bath bomb to take home. Midas Touch Crafts host weekend workshops in south London.
We sat down at a table with others, and we had a list of supplies on each table as well as a packet for each of us with items for us to aid in making the soap and bath bombs. We were first told the history of soap before we got started.
The first item to make was the bar of soap. We were provided with chunks of pink soap which we could break up depending on how large we wanted the chunks of soap to look.
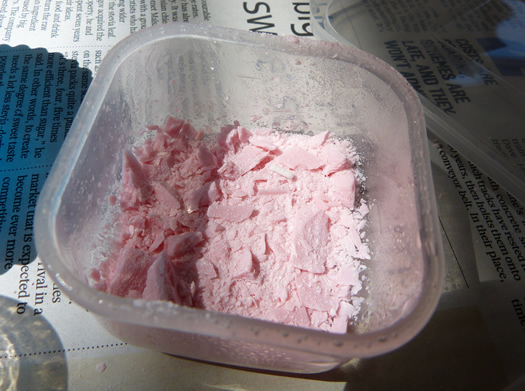
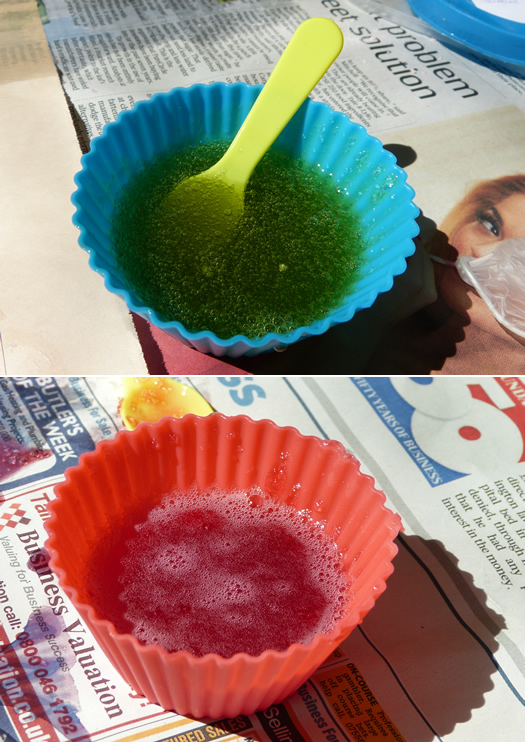
We had a choice of scents to use, and I used a floral scent. There were several vanilla scents, but I really don't like the scent of vanilla, so I choose the floral scent and borrowed pink food colouring from another table. Food colouring was used to colour the soap.
Two drops of scent and a small teaspoon of food colouring was mixed with the chunks of pink soap.
After these ingredients wre mixed, the heated melt and pour soap was taken around to each student and poured into the plastic mould. When this was done, we stirred the mixture for a little while. Vodka was used to spray the top of the soap when mixed, and it was also used to spray into the plastic before pouring the mixture in place.
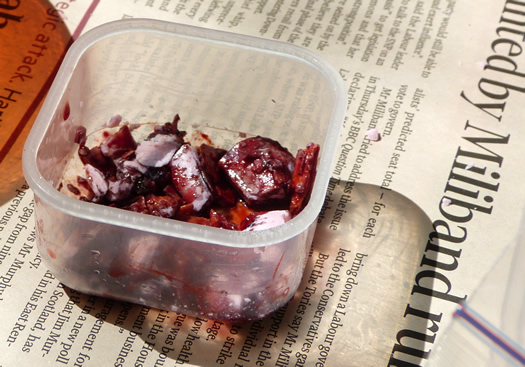
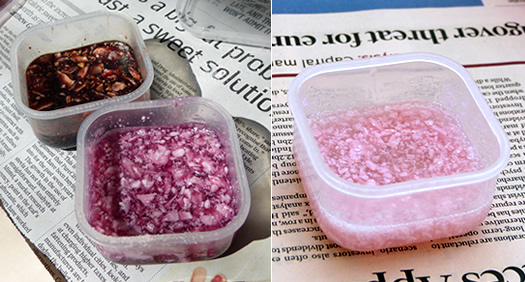
The bloke used a red food colouring, but this actually turned into a brown colour for those who used it. The pink turned out pretty, and the other student next to me did not use food colouring, and their soap turned out clear with the pink soap bits.
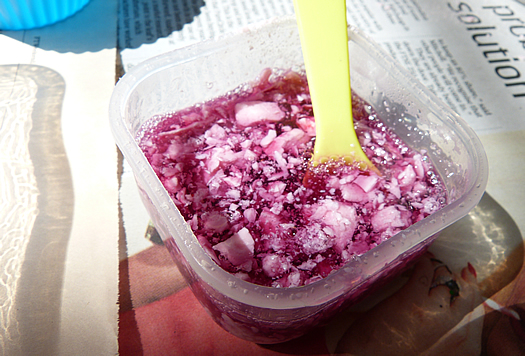
While we waited for the soap to set, we started to make the jelly soap. The ingredients used for this were between four and six teaspoons of gelatin and food colouring. This time, I borrowed green from another table. We also had a different scent of shower gel on each table, and we added a couple of drops of this into the mixture.
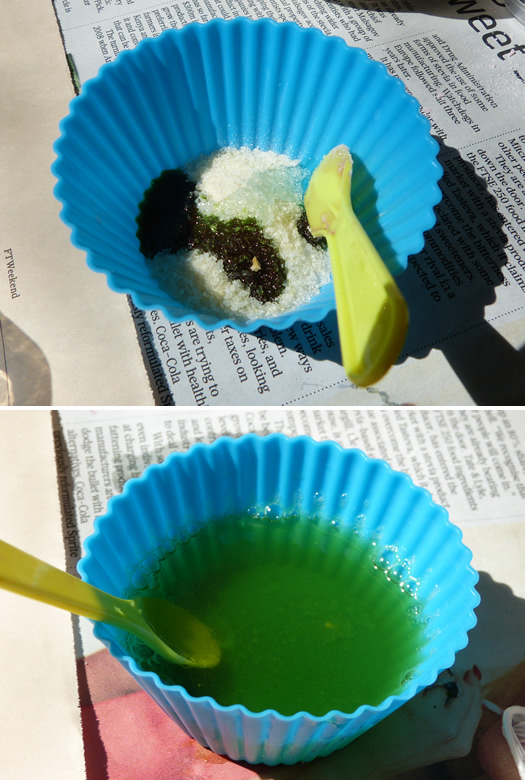
This mixture was added with boiling hot water and stirred to get the lumps of geletin into a smooth mixture. The clumping gelatin bits could be crushed. My mixture needed more gelatin added, and it bubbled up quite a bit on the top. The bloke used orange food colouring.
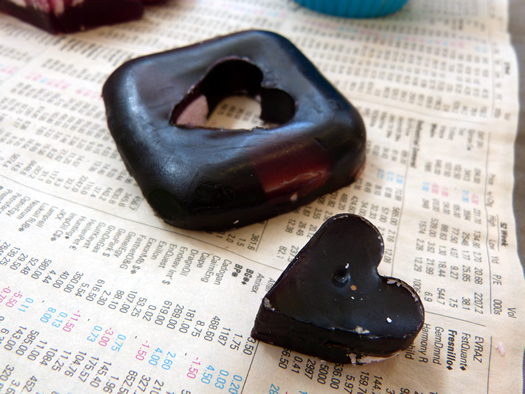
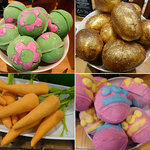
Before we started on the bath bomb, our soap bars were removed from the plastic moulds. Each table had a couple of miniature tin cookie cutters, and we used these to create shapes. I got the triangle shape and cut out a couple of triangles and tried to mould together the leftover bits. Our table also had a heart cutter.
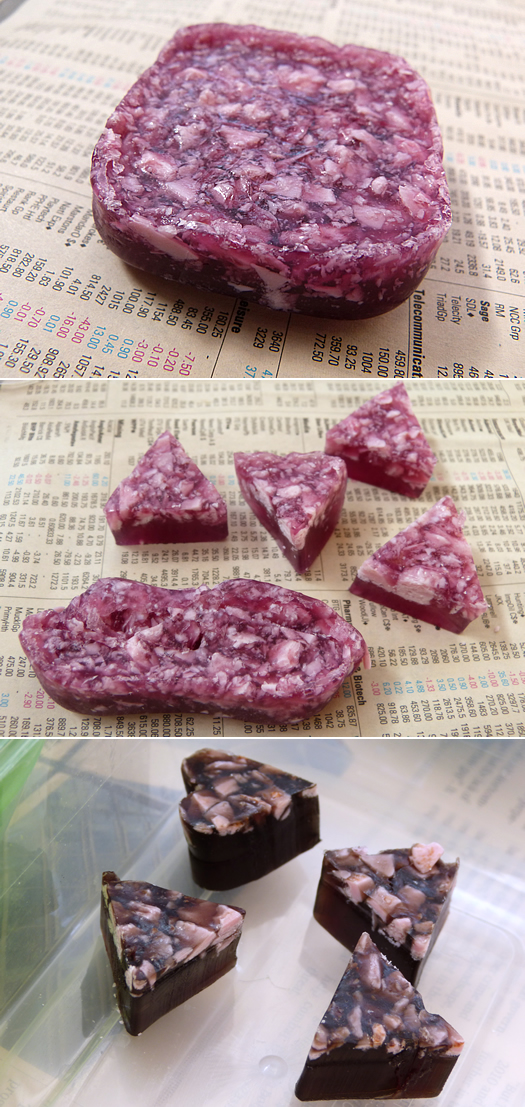
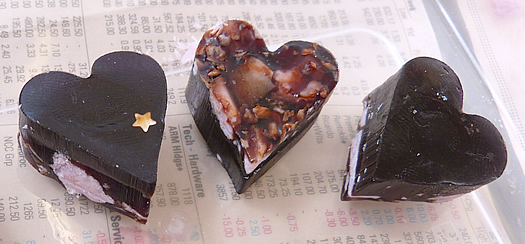
The bloke's brown soap looked delicious; we all thought that it looked like dark chocolate and nougat! Another table had created a beautiful bar with a heat, with a nice pink piece in the middle of the heart. This looked beautiful. I wish that I'd done the same with my bar.
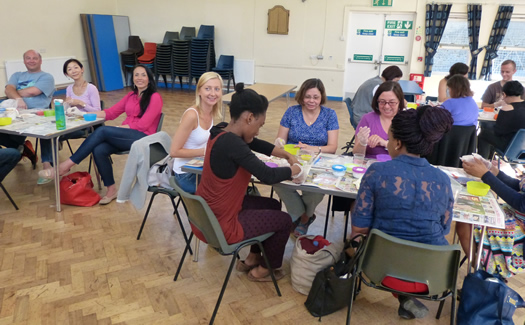
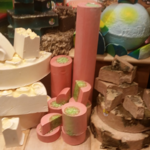
Here's a picture of some of the class. There were five tables. The photograph I took across the room did not turn out very well.
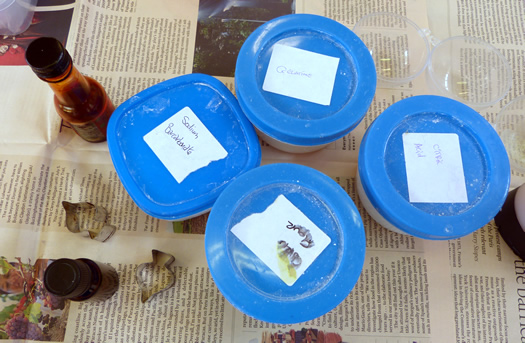
Next, we made our bath bombs, and there was a lot of struggling with these. The mixture of ingredients had to be just right and able to clump most together. It could not be too wet nor too dry. The ingredients used include equal mixtures of bicarbonate of soda, citric acid and corn flour. We used three teaspoons of each.
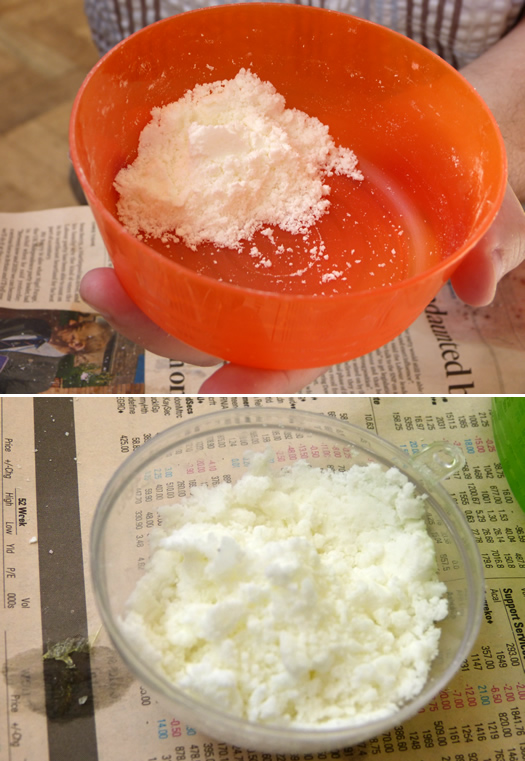
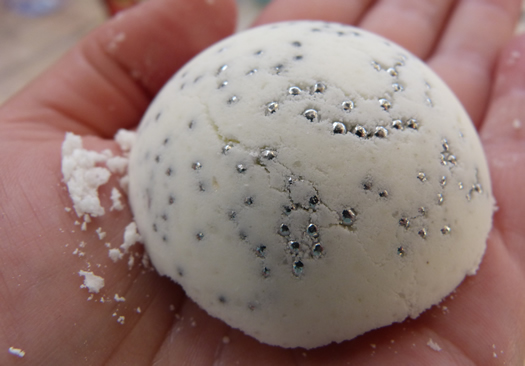
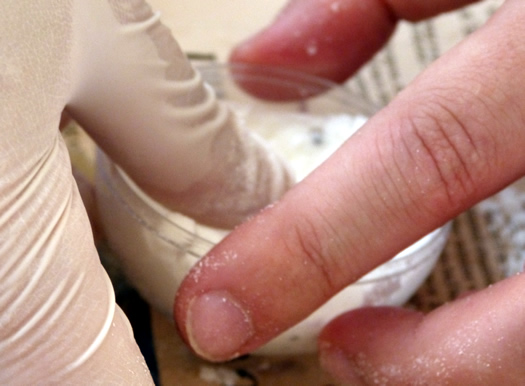
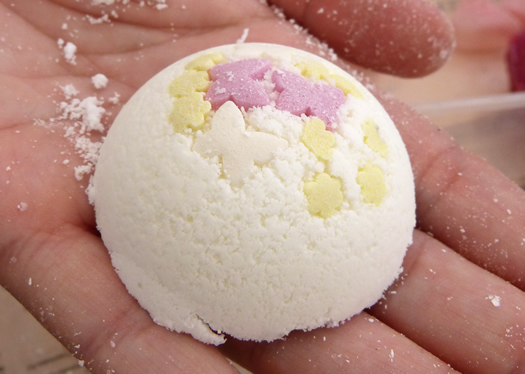
In our packs, we received some cupcake decorations (sprinkles, silver balls, etc) to add to the bottom of the mould in order to decorate the bath bombs. After we had mixed the ingredients together, we poured the mixture into the moulds and pressed down hard with our thumbs in order to compact it and get the air bubbles out of it.
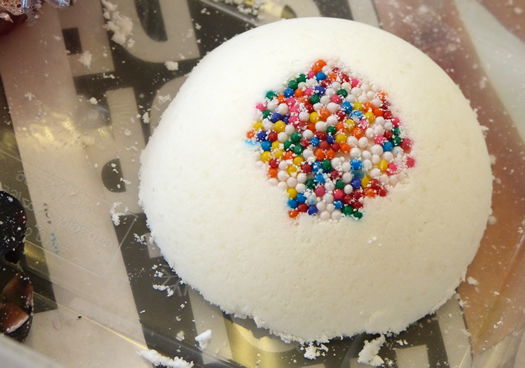
When we turned this upside down, and as long as the mixture was just right (not too wet and not too dry), we had a beautiful-looking bath bomb.
We were told to put these into the fridge when we got home so that the mositure is removed and the bath bombs harden up as they are still very fragile.
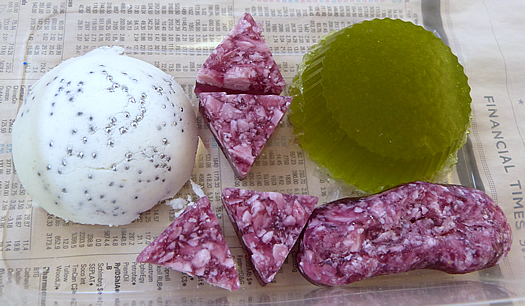
At the end of the workshop, we had some attractive-looking soaps and jellies and bath bombs. I liked the hearts that the bloke made, and they do look like chocolates.
I loved this bath bomb that another lady in the class made.
I am looking forward to trying my soap and bath bomb out this week!
If you're interested, Midas Touch Crafts do different types of workshops from flower arrangements, soap-making, candle-making, nail art, dessert-making, cushion-making, and beauty product creation. For more information and to book, visit their website at http://midastouchcrafts.com/workshops/.
The classes come with snacks and refreshments, and we received some booklets and documentation on soap making after the course so that we could continue to create soap and bath bombs on our own. These would certainly make perfect gifts, and there was one student in the class who had taken other classes and was making soaps for a wedding. Many of the students had been to other classes.
Leave a comment