This past weekend, I visited Bristol to partake in the charity sculpture walk "Gromit Unleashed". I have been looking forward to this since January, when I first heard the press release. Bristol hosted Wow! Gorillas in Bristol a couple of years ago, and I enjoyed visiting them and marking them on the phone application. This may sound a little bit sad, but I have been looking forward to "Gromit Unleashed" more than anything else this year. (For those of you wishing to see photographs of the sculptures, I will be posting them as soon as I have had a chance to sort through them.)
For those readers who do not know, Gromit is the famous canine companion of Wallace in the Wallace and Gromit short animations. They are clay (plasticine) figurines that are animated using stop-animation. The duo appeared in a full-length feature film a few years ago called 'The Curse of the Were-Rabbit'. Aardman Studios, the company that created Wallace and Gromit, also created the film Chicken Run. These films and animation shorts are well worth seeing if you have not seen them.
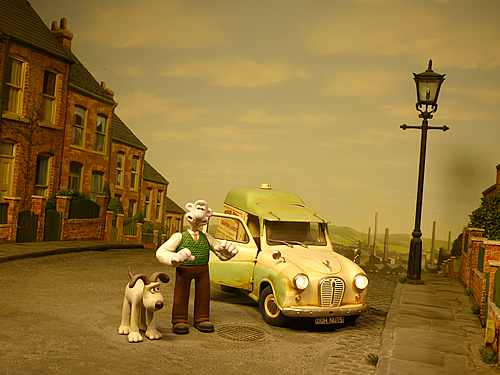
'Wallace and Gromit' model at the exhibition at @Bristol
Aardman Studios are based in Bristol, and they are sponsoring the "Gromit Unleashed" sculpture charity trail along with other local businesses. In addition to the trail, they have also launched plasticine Gromit-making workshops at the @Bristol museum, run by one of the company's model-makers. (The museum also features a display on animation and Aardman Studios.)
As I enjoy the Wallace and Gromit animations, this was an opportunity to create my own plasticine Gromit. The bloke and I signed up for the afternoon Gromit model-making course, and we were taught by one of Aardman Studios' model-makers on how to make our Gromits.
We were led to the room for an hour-long workshop in the museum where plasticine strips were laid out in front of each seat at a long table. There were three long strips of a 'stone' colour (as the Aardman employee described them), a small strip of brown, a smaller strip of black, and an even smaller bit of white plasticine. Each table had a couple of sheets of paper with the moulded bits of shapes that make a Gromit. We were then talked through how to make our Gromit sculptures.
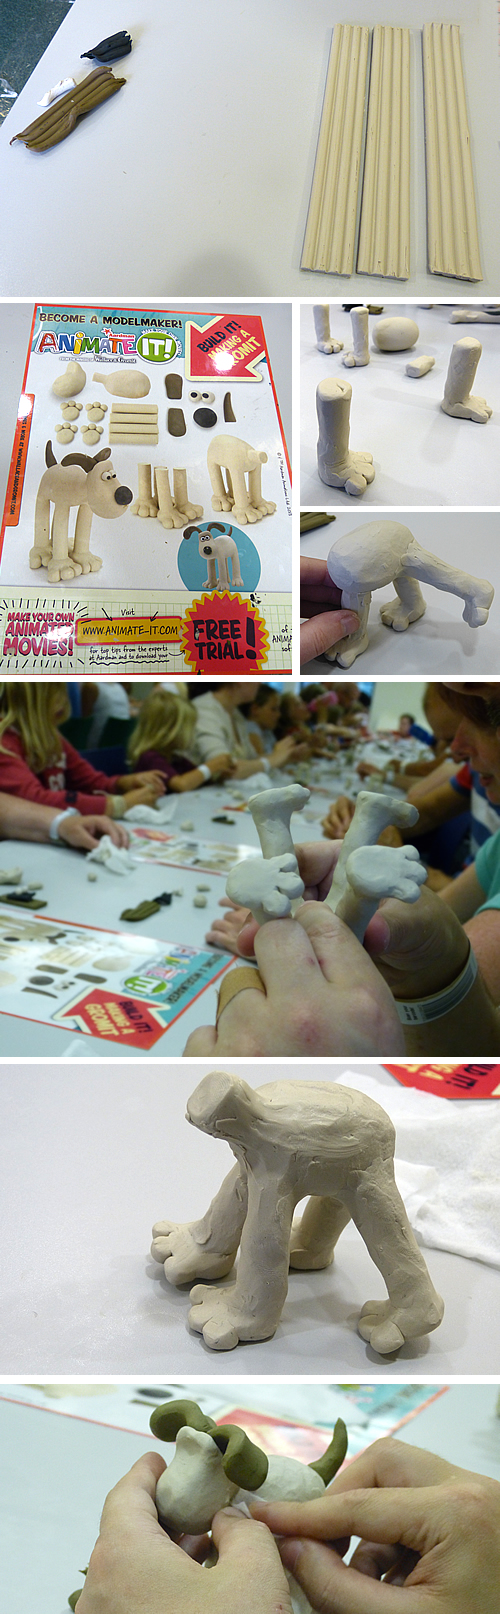
From top left: The plasticine strips; the poster describing how to create a Gromit; creating the legs; adding the legs onto the torso; finishing the legged-torso; the Gromit body waiting for the head; smoothing down the plasticine Gromit with a wet towel to 'polish/smooth' it.
After we created our Gromits, we put them on the table at the front of the room to display them. We liked how ours turned out, and it was good to see everyone else's Gromits; each one was unique.
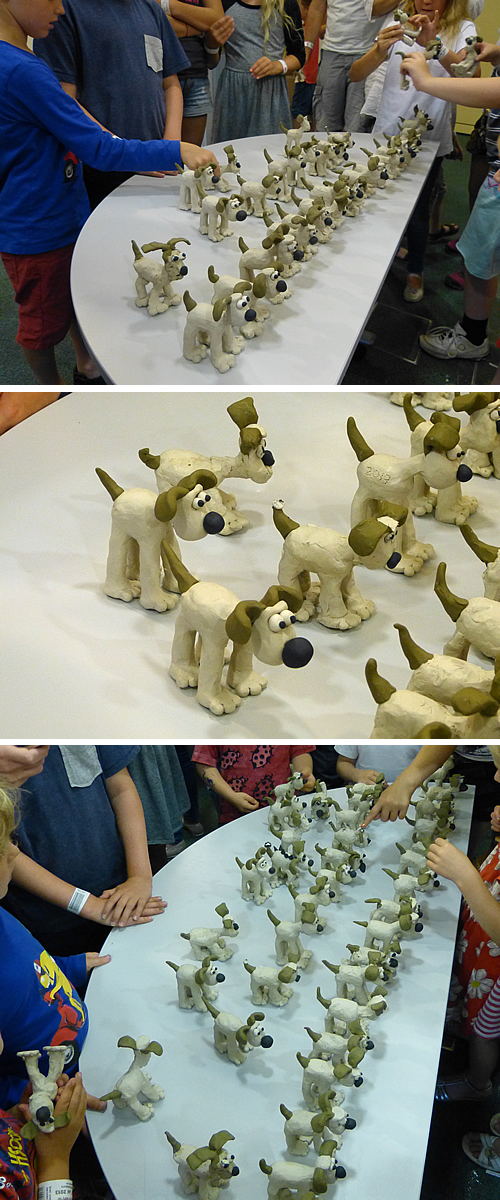
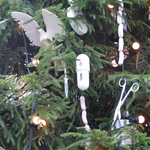
The Gromits on display
We took a photograph of our Gromits next to the Gromit that the Aardman model-builder built while he was explaining to us about how to build our Gromits. His is the one in the middle.
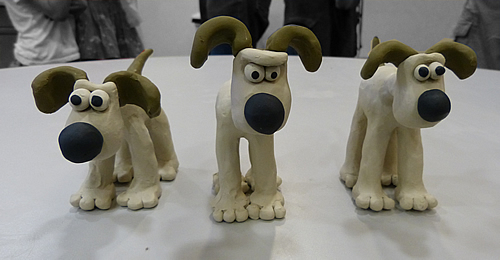
Finished Gromits
After the excitement, we carefully took our Gromits away with us. The best thing is that plasticine never fully dries, so you can always re-sculpt it and improve it (or use it for something else completely). The plasticine can be 'smoothed' down with a wet wipe, though care is needed when working with different colours so that the plasticine is not 'contaminated' with the other colours. As plasticine is re-sculptable, it is perfect for stop-animation. The @Bristol museum had an area where visitors could learn how to create animations using this technique and encouraged us to make our own animations using our Gromit models.

Leave a comment